Table of Contents
ToggleBuilding a tiny home in the backyard isn’t just trendy, it’s a practical solution for extra living space, rental income, or housing family members. Whether it’s called an accessory dwelling unit (ADU), a backyard cottage, or a granny flat, these compact structures offer big potential on a smaller footprint. But before the first wall goes up, homeowners need to navigate zoning regulations, choose the right foundation, and understand the difference between a shed-on-wheels and a code-compliant dwelling. This guide walks through the essential steps, from permit paperwork to the final coat of paint, with real-world considerations for anyone ready to add livable square footage to their property.
Key Takeaways
- Building a tiny home in your backyard requires zoning approval first, as regulations vary by jurisdiction but typically include setback requirements, lot coverage limits, and height restrictions.
- A permanent foundation (concrete slab or pier and beam) transforms a backyard tiny home into real property that qualifies for financing, insurance, and higher appraisal value.
- Most backyard tiny homes cost $50,000 to $150,000 for DIY builds, with utility connections adding $3,000–$10,000, so budget a 15–20% contingency for material fluctuations.
- Building permits are non-negotiable for living structures; the process ensures IRC compliance through inspections at foundation, framing, rough-in, insulation, and final stages.
- Space-efficient design using open floor plans, high ceilings, and lofts maximizes usable square footage in the typical 200–600 square foot backyard ADU.
- Plan 6–12 months from permit approval to occupancy for a DIY backyard tiny home project, accounting for permit reviews, inspections, and multi-stage construction.
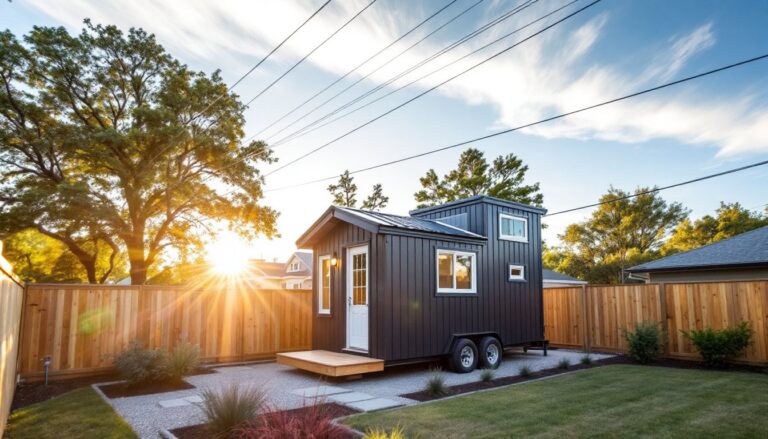
Why Build a Tiny Home in Your Backyard?
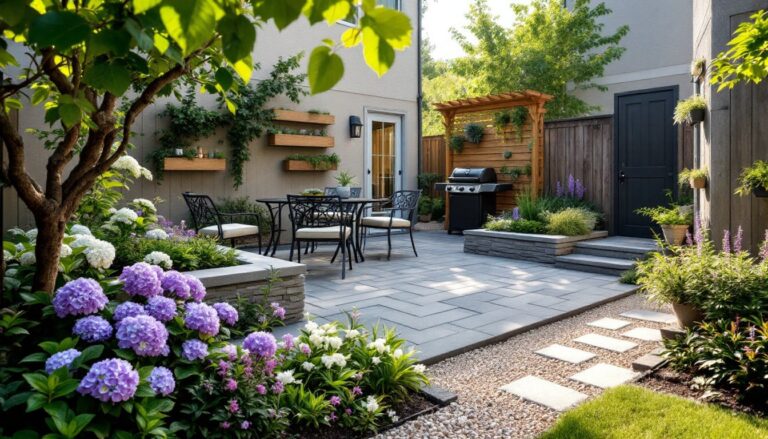
A backyard tiny home serves multiple purposes. It can house aging parents who want independence but need proximity, become a full-time rental generating $1,000–$2,500 per month (depending on location), or function as a dedicated home office that actually separates work from living space.
Property value typically increases with a permitted ADU, appraisers recognize legal, habitable square footage. In tight housing markets, cities like Portland, Seattle, and Sacramento actively encourage ADU construction through streamlined permitting and reduced fees.
Unlike an RV or travel trailer parked out back, a properly built tiny home on a permanent foundation meets building codes and qualifies for insurance and financing. It’s real estate, not personal property. That distinction matters when selling the house or applying for a home equity line of credit.
The upfront cost ranges from $50,000 to $150,000 for a DIY build, depending on size, finishes, and whether utilities already run to the site. Hiring a contractor doubles or triples that figure. Material costs fluctuate with lumber prices and supply chain conditions, so budget a 15–20% contingency.
Understanding Zoning Laws and Building Permits for Backyard Tiny Homes
Zoning approval comes first, before blueprints, before material orders, before anything else. Most municipalities regulate ADUs through setback requirements (typically 5–10 feet from property lines), lot coverage limits (often 40–50% maximum), and height restrictions (commonly 16–18 feet for single-story structures).
Some jurisdictions require owner occupancy in either the main house or the ADU. Others cap total ADU square footage at 800–1,200 square feet or restrict it to a percentage of the primary dwelling’s size. Check local zoning ordinances through the city or county planning department, these rules vary wildly even between neighboring towns.
Building permits are non-negotiable for any structure intended as living space. The permit process ensures compliance with the International Residential Code (IRC), including structural, electrical, plumbing, and mechanical standards. Appendix Q of the IRC provides specific provisions for tiny homes, addressing minimum room dimensions, ceiling heights, and loft access requirements.
Permit fees range from $500 to $3,000 depending on project value and jurisdiction. Plan reviews take 4–12 weeks. Inspections occur at multiple stages: foundation, framing, rough-in (electrical/plumbing/HVAC), insulation, and final. Skipping permits risks fines, mandatory demolition, and title complications when selling the property.
Homeowners associations (HOAs) often impose additional restrictions. Review CC&Rs (covenants, conditions, and restrictions) before investing time or money. Some HOAs flatly prohibit detached structures: others allow them with architectural committee approval.
Planning Your Backyard Tiny Home: Size, Layout, and Design Considerations
Most backyard tiny homes fall between 200 and 600 square feet. Smaller footprints (under 400 square feet) work for studios or one-bedroom layouts: larger builds accommodate two bedrooms and full bathrooms.
Design priorities differ from conventional houses. Every square foot counts. Open floor plans with minimal interior walls maximize usable space. Nine-foot ceilings feel more spacious than standard eight-foot heights, especially in compact footprints. Lofts provide sleeping or storage areas but require safe access, IRC Appendix Q mandates loft stairs or ships’ ladders, not just a vertical ladder.
Window placement affects both natural light and privacy. South-facing windows capture passive solar heat: north-facing windows provide consistent, indirect light. Consider sightlines from both the main house and neighboring properties. Energy efficiency matters more in small spaces, poor insulation or drafty windows create uncomfortable temperature swings that feel amplified in 300 square feet.
Standard stick-framing with 2×4 or 2×6 studs works for most DIYers and stays code-compliant. Some builders explore structural insulated panels (SIPs) or advanced framing techniques, but these require more specialized knowledge. Roof pitch should match local snow load requirements and accommodate standard roofing materials, 4:12 to 6:12 pitches handle asphalt shingles well and shed water effectively.
Material selection impacts both cost and longevity. Pressure-treated lumber for sills and rim joists resists moisture. Engineered lumber like LVL beams or I-joists span longer distances without sagging. Fiber cement siding outperforms vinyl in fire-prone areas and holds paint better. These choices affect the build timeline and skill level required.
Foundation Options for Your Backyard Tiny Homes
The foundation determines whether the structure is permanent (real property) or movable (personal property). Permanent foundations qualify for conventional financing and higher appraisal values.
Concrete slab foundations work well for level lots with good drainage. They’re code-compliant, support heavy loads, and integrate radiant floor heating easily. Pour depth ranges from 4 to 6 inches with rebar or wire mesh reinforcement. Perimeter footings extend below frost line, 12 inches in mild climates, 36–48 inches in freeze-prone regions. Slabs require gravel base, vapor barrier, and insulation (foam board under the slab in cold climates). DIYers can handle formwork and finishing, but concrete delivery and pouring goes faster with help.
Pier and beam foundations suit sloped lots and areas with expansive soils. Concrete piers (typically 12-inch diameter, 3–4 feet deep) support treated wood beams and floor joists. This method allows underfloor access for utilities and drainage. Properly installed, it meets code and costs 15–25% less than a full slab. Shimming and leveling beams takes patience and precision.
Skid foundations use two parallel treated timbers (6×6 or larger) set on gravel. Tiny homes on skids technically remain mobile, which some jurisdictions don’t count as permanent structures. This approach bypasses certain permit requirements but sacrifices appraisal value and financing options. It’s popular for DIY backyard office sheds converted to living space, though legality for full-time dwelling varies.
Frost heave, drainage, and soil bearing capacity all affect foundation choice. A soils engineer or structural engineer consultation ($500–$1,500) prevents expensive failures. Poor drainage causes settling: inadequate depth leads to frost heave cracking.
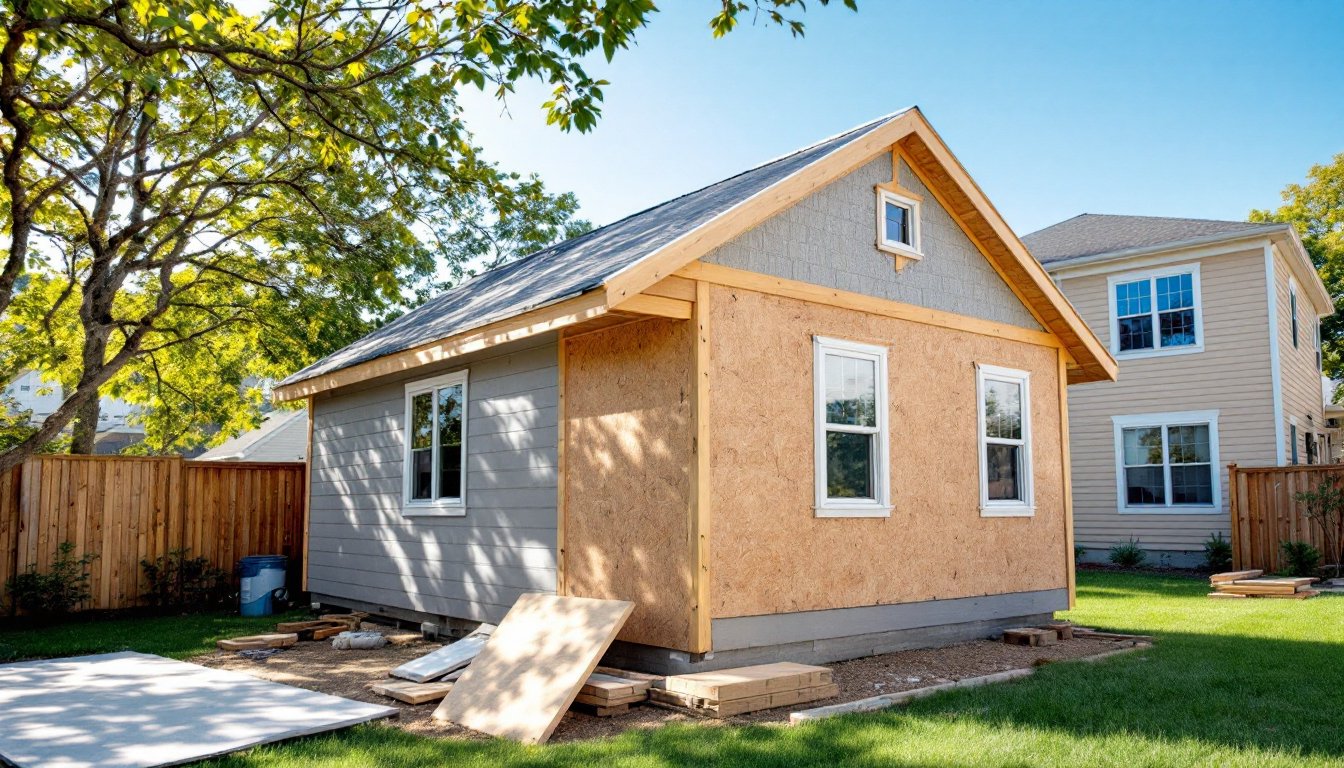
Essential Building Steps: From Frame to Finish
Framing starts with floor joists, typically 2×6 or 2×8 lumber spaced 16 inches on center, sized according to span tables in the IRC. Install rim joists and band boards, then sheath the deck with ¾-inch tongue-and-groove plywood or OSB. Square the floor by measuring diagonals: they should match within ¼ inch.
Wall framing uses 2×4 studs (actual dimensions 1.5 × 3.5 inches) for most single-story tiny homes. Pre-assemble walls flat on the deck: bottom plate, top plates (doubled), studs at 16 inches on center, and headers over door/window openings. Use a framing nailer or 16d nails. Raise walls, brace temporarily, then tie them together at corners. Install sheathing (OSB or plywood) for racking strength before the building inspector’s framing check.
Roof trusses or rafter framing follows. Trusses arrive pre-engineered and speed up construction: site-built rafters offer flexibility for custom designs. Sheath the roof with ½-inch or ⅝-inch plywood/OSB, apply underlayment (felt or synthetic), then install roofing, asphalt shingles cover 100 square feet per bundle (three bundles per square).
Rough-in work means running electrical, plumbing, and HVAC before closing up walls. Electrical follows NEC (National Electrical Code), most tiny homes need a 100-amp or 125-amp service panel. Plumbing requires proper venting (1.5-inch or 2-inch vent stack through the roof) and drain slope (¼ inch per foot minimum). HVAC options include mini-split heat pumps (efficient and compact) or through-wall units.
Insulation and drywall close in the interior. R-13 to R-15 batts in 2×4 walls, R-30 to R-38 in ceilings. Vapor barriers go on the warm side (inside in cold climates). Hang ½-inch drywall, tape joints, apply three coats of compound, sand smooth. Interior finishes, flooring, trim, cabinets, paint, consume the final weeks and determine whether the space feels polished or rushed.
Utilities and Off-Grid Considerations
Connecting to municipal utilities simplifies permitting and daily life. Running water, sewer, and electrical lines from the main house to the ADU costs $3,000–$10,000 depending on distance and existing infrastructure. Electrical wire sizing depends on load and run length, #6 copper handles 60 amps over moderate distances: consult an electrician for runs exceeding 100 feet.
Sewer connections require proper slope and cleanouts. If the main sewer line isn’t accessible, a lift pump ($800–$1,500) can push wastewater uphill. Water supply lines (¾-inch PEX or copper) need shut-off valves and backflow prevention.
Off-grid systems appeal to remote sites or eco-focused builders. Solar panels (typically 3–5 kW systems for a tiny home) paired with battery banks (lithium-ion preferred over lead-acid) provide electricity. Modern sustainable design increasingly incorporates renewable energy, though upfront costs run $15,000–$25,000 for a complete solar setup. Propane supplements electricity for cooking and heating, 100-pound tanks last 3–6 months with moderate use.
Water needs vary. Rainwater catchment systems collect roof runoff into cisterns (250–1,000 gallons). Filtration and UV sterilization make it potable. Greywater systems reuse sink and shower water for irrigation. Composting toilets eliminate sewage entirely but require maintenance and local code approval, many jurisdictions don’t allow them in permanent dwellings.
Off-grid living trades convenience for independence. It suits rural properties where utility hookups aren’t feasible, but adds complexity and ongoing management most DIYers underestimate.
Conclusion
Building a backyard tiny home combines carpentry skills, code knowledge, and project management. It’s not a weekend job, expect 6–12 months from permits to occupancy for a DIY build. But the payoff is tangible: rentable square footage, multi-generational housing, or a private retreat steps from the back door. Start with zoning research, budget realistically, and don’t skip structural or safety steps. Done right, a backyard ADU adds function and value that lasts decades.